

Cold-weather cycling comes down to three layers, each with one job: a base layer against the skin to move sweat and add warmth, an insulating mid-layer to trap heat, and a shell to block wind and rain. Get the three right for the temperature — and dress for how you'll feel ten minutes in, not for the cold first minutes — and you stay warm without soaking yourself in sweat. This guide walks the system layer by layer, top and bottom, and how to tune it to the day.
The three-layer principle
Warmth on the bike isn't about one thick garment; it's about a system that manages heat and moisture together. Each layer has a distinct job: the base moves sweat off your skin, the mid-layer traps warm air, and the shell keeps wind and rain from stripping that warmth away. The reason to think in layers rather than one big jacket is control — you can add or drop a layer as the temperature, the effort or the terrain changes, instead of being stuck too hot or too cold. Protect the core first: keeping your torso and knees warm matters more than your fingers or your face, because a cold core shuts everything down.
Layer 1: the base layer
The base layer sits against your skin and sets up everything above it. Its job in the cold is to wick sweat away before it chills you and to add a first layer of insulation. Below about 8°C, that means a thermal base layer with a brushed inner; in the 8–14°C range, a lighter one still earns its place by keeping you dry. The mistake is skipping it — ride hard in the cold without a base layer and the sweat sits in your jersey and freezes you on the first descent. Choose a close fit: a base layer only wicks and insulates in contact with the skin.
Layer 2: insulation
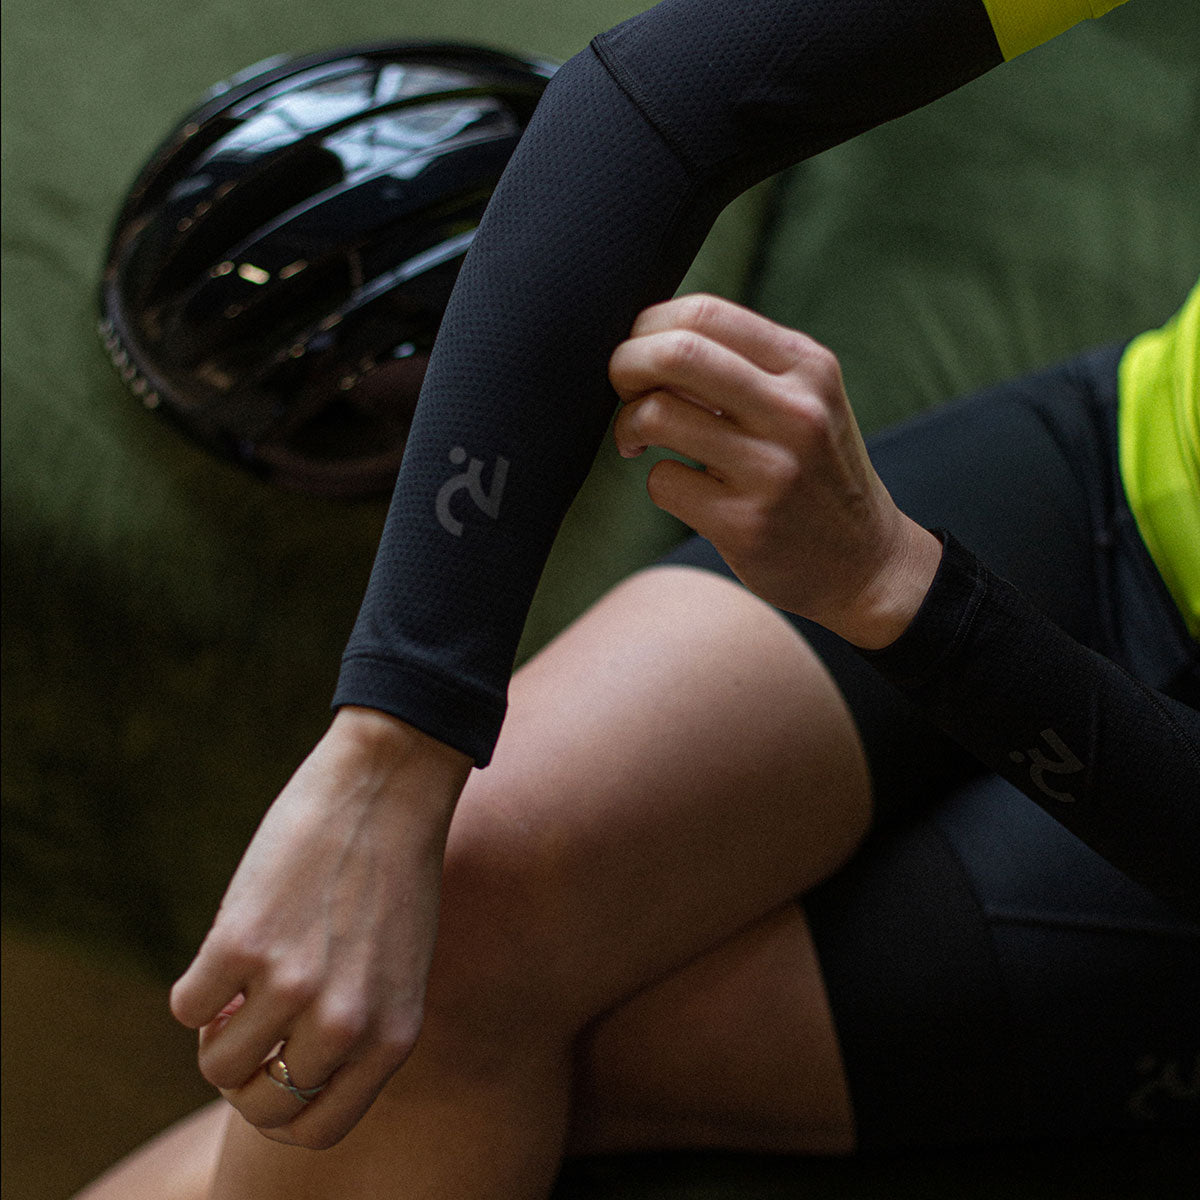
The mid-layer traps the warm air your body generates. On milder cold days that's your normal jersey; as it gets colder, a long sleeve or a dedicated thermal jersey with a brushed inner. This is also where the swing pieces live: arm warmers and a gilet let you fine-tune insulation without changing your whole kit. The goal is enough warmth to be comfortable at working effort — not so much that you overheat on the climbs. If you're sweating hard within twenty minutes, you've over-insulated.
Layer 3: the shell
The shell is your wind and weather defence. Even in dry cold, a windproof front layer makes a big difference, because moving air strips warmth far faster than still air — every descent is a wind-chill event. On changeable days a packable gilet or windbreaker covers it; in sustained cold, wind or rain, a jacket. Match the shell to the threat: a gilet for core wind protection you can pocket, a windbreaker for wind and showers, a waterproof for committed wet. The shell is what makes the two layers beneath it actually keep you warm.
Don't forget the legs
Layering isn't only for your top half — your legs need the same logic. From roughly 8 to 16°C, bib shorts plus leg warmers give you adjustable warmth you can strip mid-ride. Below 8°C, move to thermal bib tights: a fleece-lined, full-length layer with a wind-resistant front, built for sustained cold. Knees are a priority — they chill fast and don't like the cold, so cover them before your arms. (For the full breakdown, see our guide on leg warmers vs bib tights.)
Extremities: hands, feet and head
Warm layers on your body don't help if your hands and feet are numb. As it drops below about 8°C, add full-finger gloves (thermal ones below ~4°C), a headband or cap under the helmet to cover the ears, and — in real cold — overshoes to keep your feet working. A surprising amount of warmth is lost at the neck and ears, so a buff or headband is one of the cheapest upgrades to cold-weather comfort. Extremities suffer first, so they're often what ends a cold ride early.
Build it by temperature
- 12–16°C: short sleeve jersey, bib shorts, arm and leg warmers, a base layer; a gilet for descents.
- 8–12°C: base layer under the jersey (or a long sleeve), arm and leg warmers, a gilet or windbreaker, full-finger gloves.
- 5–8°C: thermal base layer, long sleeve jersey, thermal bib tights (or bibs with leg warmers), a windproof gilet or jacket, winter gloves, a headband.
- 0–5°C: thermal base, winter jersey, thermal bib tights, windproof jacket, thermal gloves, cap and overshoes.
- Below 0°C: thermal base and tights, insulated jacket, thermal gloves, overshoes, a cap or buff — and an honest look at whether ice makes a shorter loop or an indoor session smarter.
Dress for ten minutes in
The single most useful rule: the right amount of kit feels slightly cold when you walk out the door and just right once you're rolling. Your body takes ten to fifteen minutes to warm up. Overdress and you'll be soaked by the first climb, which then chills you on the descent — the worst of both worlds. Being a touch cold at the start beats overheating and getting clammy.
Adjust for wind, rain and effort
The bands are a starting point, not the answer. Wind makes it colder — carry more than the number suggests if there's climbing and fast descents. Rain pulls heat away fast, so a wet ride needs more shell than a dry one at the same temperature. Effort cuts the other way: a hard interval day runs warmer than an easy spin, so dress lighter for it. And take the warmers you can pocket — the cost of carrying them is nothing, the cost of needing them is a miserable ride.
FAQ
What are the three layers for cold-weather cycling? A base layer to move sweat and add warmth, an insulating mid-layer (jersey or thermal jersey) to trap heat, and a shell (gilet, windbreaker or jacket) to block wind and rain. Each has a distinct job.
How do I stop overheating when I layer up? Dress for ten minutes into the ride, not the cold start — you should feel slightly cool at the door. Use pieces you can shed (arm and leg warmers, a gilet) so you can drop insulation as you warm up.
Do I need a base layer in cold weather? Yes — it's the foundation. It wicks sweat away before it chills you and adds a first layer of warmth. Skipping it in the cold leaves you damp and cold on the first descent.
What's most important to keep warm? Your core and knees. A warm torso keeps the whole system working; cold knees are uncomfortable and slow. Prioritise them over your arms, then cover the extremities.
When do I switch from leg warmers to thermal tights? Around 8°C. Above it, bib shorts and leg warmers give adjustable warmth; below it, thermal bib tights insulate the whole leg better.
The bottom line
Three layers, each with a job: a base layer to stay dry, insulation to stay warm, a shell to block the weather — tuned to the temperature and dressed for ten minutes in. Start with the DTR base layer range; add arm and leg warmers, thermal bib tights and a windproof shell as the temperature drops.
—
DTR — performance cycling and triathlon apparel, designed and developed in Ukraine.

Leave a comment
This site is protected by hCaptcha and the hCaptcha Privacy Policy and Terms of Service apply.